SwiftUI直通车系列(5)—— 自定义绘制
前情回顾:
SwiftUI直通车系列(1)—— 视图的布局与组织
SwiftUI直通车系列(2)—— 列表视图
SwiftUI直通车系列三(3)—— 使用导航
SwiftUI直通车系列(4)—— 处理用户交互
在UI开发中,我们经常会使用到各式各样的图标或图形。通常,我们可以直接使用图片来渲染图形,在SwiftUI中也提供了相关的接口来对图形绘制提供支持,理论上,我们可以不使用外部图片来自定义绘制出我们想要渲染的图形。
一、图形绘制
首先,在定义SwiftUI组件时,我们可以通过路径的定义绘制其要表现的UI图形,例如要在页面上显示一个菱形图形,示例代码如下:
1
2
3
4
5
6
7
8
9
10
11
12
13
14
15
16
17
18
| struct DrawTestView:View {
var body: some View {
Path { path in
let width = 200
let height = 200
path.move(to: CGPoint(x: width, y: height))
path.addLine(to: CGPoint(x: 100, y: 400))
path.addLine(to: CGPoint(x: 200, y: 600))
path.addLine(to: CGPoint(x: 300, y: 400))
}.fill(Color.red)
}
}
struct ContentView_Previews: PreviewProvider {
static var previews: some View {
DrawTestView()
}
}
|
效果如下图所示:
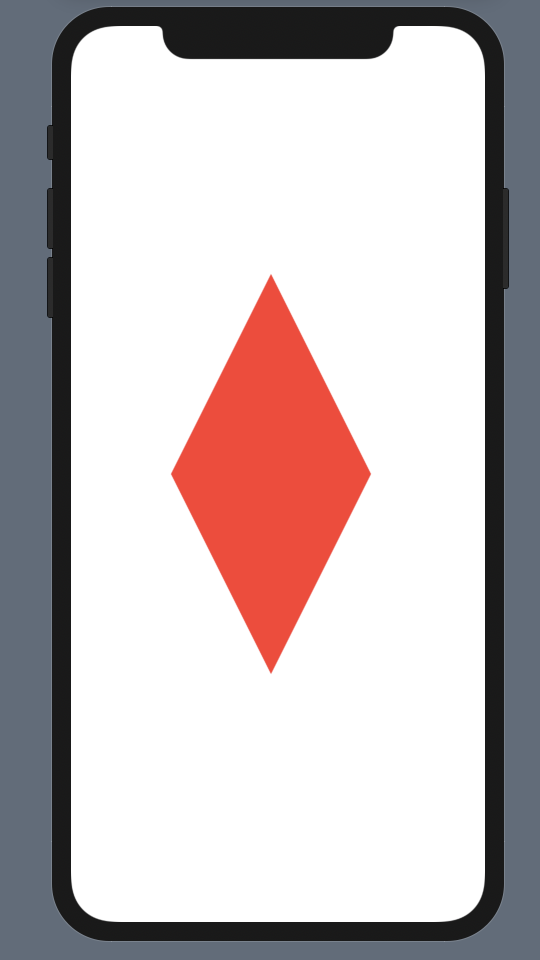
上面的代码很好理解,使用Path在定义View时,move方法用来进行绘制点的移动,简单理解,如果我们将图形的绘制类比与用笔作画,则move方法的作用就是移动笔尖的位置。addLine方法用来向视图上画一条线,定义完了路径后,调用fill方法用来进行图形内部颜色的填充。如上代码所示,实际上我们只画了三条线,系统默认将三条线及最后一个点与原点的连线组成的图形内部进行了颜色的填充,如果我们不对内部进行颜色填充,只将线的颜色显示出来,就更加直观了,代码如下:
1
2
3
4
5
6
7
8
9
10
11
12
| struct DrawTestView:View {
var body: some View {
Path { path in
let width = 200
let height = 200
path.move(to: CGPoint(x: width, y: height))
path.addLine(to: CGPoint(x: 100, y: 400))
path.addLine(to: CGPoint(x: 200, y: 600))
path.addLine(to: CGPoint(x: 300, y: 400))
}.stroke(Color.red,lineWidth: 10)
}
}
|
效果如下图所示:
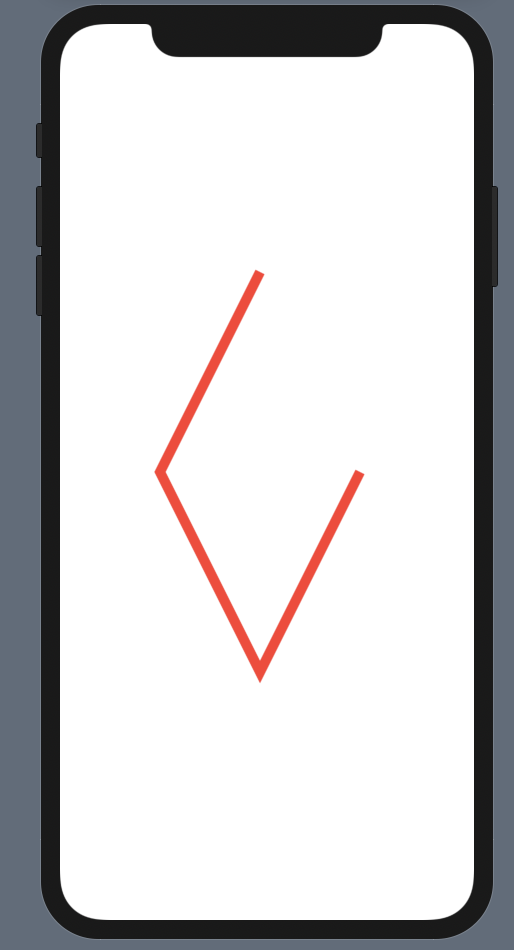
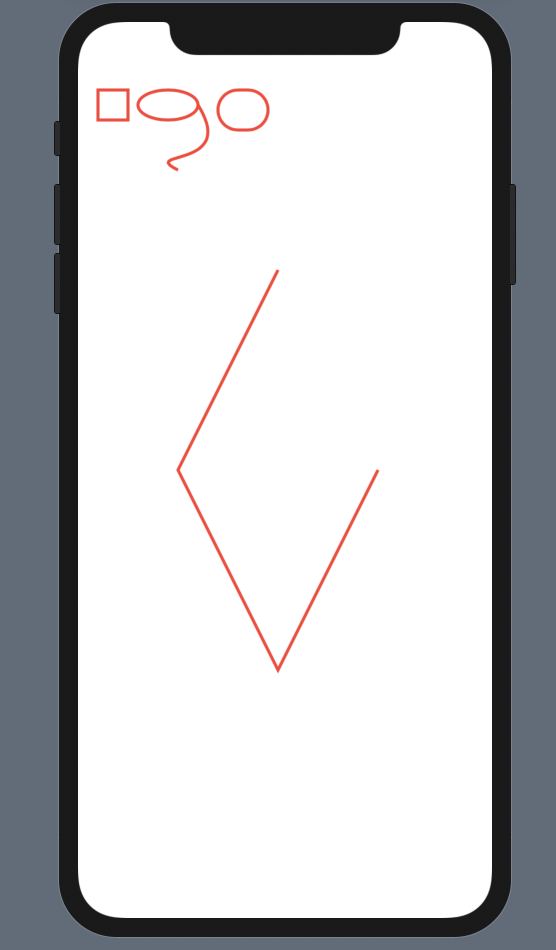
与addLine的使用方法类似,我们还可以通过添加矩形、椭圆、贝塞尔曲线等等方法来绘制图形,示例代码如下:
1
2
3
4
5
6
7
8
9
10
11
12
13
14
15
16
| struct DrawTestView:View {
var body: some View {
Path { path in
let width = 200
let height = 200
path.move(to: CGPoint(x: width, y: height))
path.addLine(to: CGPoint(x: 100, y: 400))
path.addLine(to: CGPoint(x: 200, y: 600))
path.addLine(to: CGPoint(x: 300, y: 400))
path.addRect(CGRect(x: 20, y: 20, width: 30, height: 30))
path.addEllipse(in: CGRect(x: 60, y: 20, width: 60, height: 30))
path.addCurve(to: CGPoint(x: 100, y: 100), control1: CGPoint(x: 160, y: 100), control2: CGPoint(x: 60, y: 80))
path.addRoundedRect(in: CGRect(x: 140, y: 20, width: 50, height: 40), cornerSize: CGSize(width: 20, height: 20))
}.stroke(Color.red,lineWidth: 3)
}
}
|
效果如下图所示:
二、设置绘制属性
在SwiftUI中,完成了图形的定义是一步,之后我们还需要将图形描边绘制或填充绘制。无论是描边绘制还是填充绘制,我们都可以定制化的对绘制属性进行控制,例如下面的示例代码:
1
2
3
4
5
6
7
8
9
10
11
12
13
14
15
16
17
18
19
20
21
22
23
| struct DrawTestView:View {
var body: some View {
VStack {
Path { path in
let width = 200
let height = 0
path.move(to: CGPoint(x: width, y: height))
path.addLine(to: CGPoint(x: 100, y: 200))
path.addLine(to: CGPoint(x: 200, y: 400))
path.addLine(to: CGPoint(x: 300, y: 200))
path.addLine(to: CGPoint(x: 200, y: 0))
}.stroke(style: StrokeStyle(lineWidth: 3, lineCap: CGLineCap.butt, lineJoin: .bevel, miterLimit: 2, dash: [15,4], dashPhase: 2)).foregroundColor(.blue)
Path { path in
let width = 200
let height = 20
path.move(to: CGPoint(x: width, y: height))
path.addLine(to: CGPoint(x: 100, y: 220))
path.addLine(to: CGPoint(x: 200, y: 420))
path.addLine(to: CGPoint(x: 300, y: 220))
}.fill(LinearGradient(gradient: Gradient(colors: [Color.red, Color.blue]), startPoint: .top, endPoint: .bottom))
}
}
}
|
效果如下图所示:
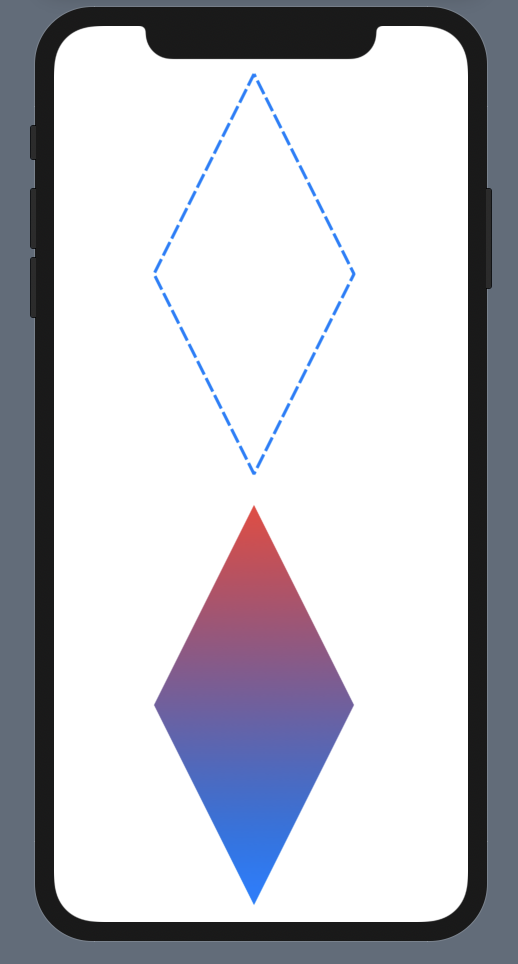
对于描边绘制,我们可以设置线的风格,间距,转角风格等。对于填充绘制,我们可以为其设置渐变填充,上面代码示例的是线性渐变效果,系统还提供了圆心渐变等功能。
三、简单的图形变换和组合
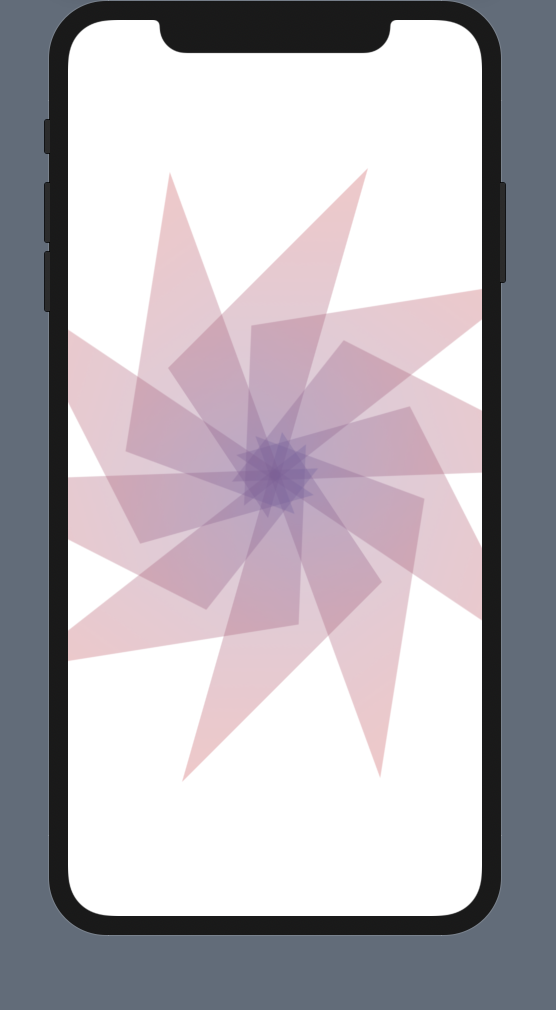
有规律的对绘制的图形进行变换和组合往往可以得到非常美观的复合图形,例如对于上面绘制的菱形,我们可以通过修改透明度进行图形组合,并使用旋转变换的方式使其构建出更加美观的图标,修改代码如下:
1
2
3
4
5
6
7
8
9
10
11
12
13
14
15
16
17
18
19
20
21
22
23
24
25
26
27
28
29
| struct DrawTestView:View {
let angle:Angle
var body: some View {
Path { path in
let width = 250
let height = 150
path.move(to: CGPoint(x: width, y: height))
path.addLine(to: CGPoint(x: 100, y: 300))
path.addLine(to: CGPoint(x: 200, y: 450))
path.addLine(to: CGPoint(x: 300, y: 100))
}.fill(LinearGradient(gradient: Gradient(colors: [Color.red, Color.blue]), startPoint: .top, endPoint: .bottom)).rotationEffect(angle, anchor: .center)
}
}
struct DrawContent:View {
var body: some View {
ZStack{
ForEach(0 ..< 10) { i in
DrawTestView(angle: Angle(degrees:Double(36*i))).opacity(0.3)
}
}
}
}
struct ContentView_Previews: PreviewProvider {
static var previews: some View {
DrawContent()
}
}
|
效果如下图所示:
